
Is the thought of a Facebook Group for your business appealing? Do you feel left out because you don’t already have one?
If you are thinking about Facebook Groups this much, don’t ignore your feelings… it might be time to see if groups have a place in your social media strategy! Groups are fantastic for engaging with customers in a meaningful way.
Pause for a quick Comparision so I know we are all on the same page!
Facebook Page vs. Facebook Group
What is a Facebook Page?
Page posts are public, and anyone can find your Business Facebook page. You can also advertise your content to a select group of people. You can track all of this with built-in data (called Insights).
READ MORE: Find out if a Facebook Page is right for your business
What is a Facebook Group?
A members-only place to post information to members who receive a notification of new content (based on their notification settings). Groups can be closed or secret, which means only members can access them. There is no advertising option and data is only available if you have 250+ members.
READ MORE: Find out if a Facebook Group is right for your business
How to Set Up a Facebook Group for Your Business
Now that you know FOR SURE that you want the Facebook Group, here’s what to do next.
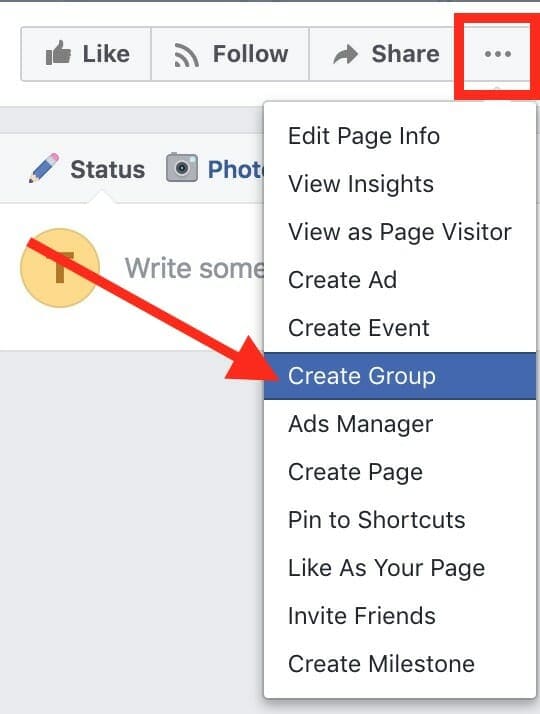
Go the Facebook Business page that you would like the group to be connected to. Under the cover photo, and to the side of “Share” there are 3 dots. Click on the 3 dots and select “Create Group”. You must be an Admin on that Facebook page for the Create Group option to be available!
- Choose your group name. There will be a default name shown, but you may edit it.
- Invite people to join.
- Select your privacy settings.
- If you choose to make your group Public then all content (posts, photos, etc.) can be accessed by anyone. Only select this option if you are comfortable with EVERYTHING being public.
- If you are creating a group to offer discounts, specials, or members-only information, choose the Closed or Secret group setting.
When you are done with all this, hit the create button!
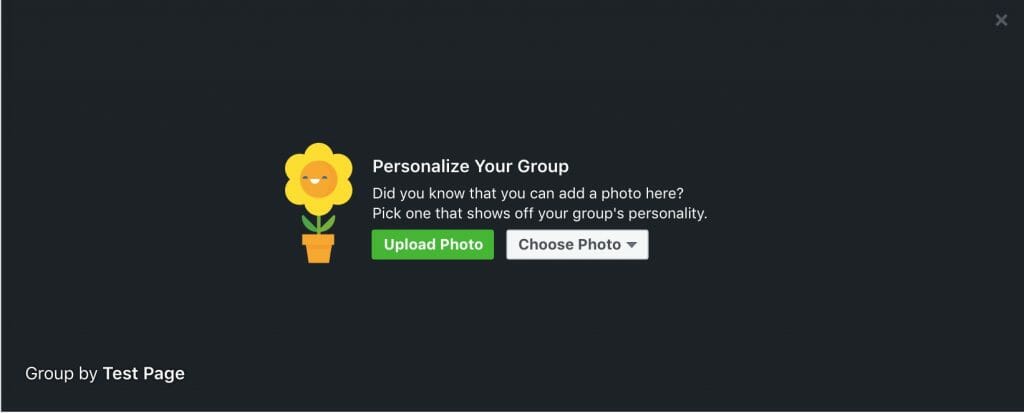
Now Customize Your Group:
- Choose an icon
- Upload a cover photo
- Size per Facebook – 1,640px by 856px
- Invite members
- These can be your personal friends or use email addresses of the people you want to invite to your Facebook Group.
Complete your group profile- this will take time to do right, so no rushing! Try to fill in as much as possible.
- Group type
- Buy and Sell (This group type has additional features)
- Close Friends
- Club
- Events and Plans
- Family
- Neighbors
- Parents
- Project
- School or Class
- Study Group
- Support
- Team
- Travel
- Custom
- A group description of up to 3,000 characters (you can even use emojis!)
- Add up to 5 tags
- Add Location(s)
- Customize the URL (which will be the web address of the group on Facebook) so your followers can find the group easily
Facebook Group Page Tips:
Don’t add everyone you know to your group! This annoys people so much (speaking from experience here). Only add individuals who have asked to be a member or have a valid reason to be in the group.
Be sure to use the description section to post any information you want all members to know (guidelines, group rules, etc.). Another way to do this is to create a separate post of “need to know” info and pin it to the top so it is the first thing new members see when they come to your group.
Now that your group is set up correctly, may it be everything you want it to be!